I’m still on a Wolfenstein 3D kick, so this month we’re going to further extend the software render. We’re doing it in C and are manually setting individual pixels (no 3D lib). As before, I’m deriving this myself, so while we should end up with something similar to Wolfenstein 3D, things are probably not going to be a perfect match.
The last post left us with a textured blocky world. I felt like the next thing to do was to be able to populate that world.
Wolfenstein 3D (and DOOM) were before the time of 3d meshes. Enemies and set pieces (like barrels) were rendered as flat images. These billboard sprites always face the camera, since that simplifies the rendering math:

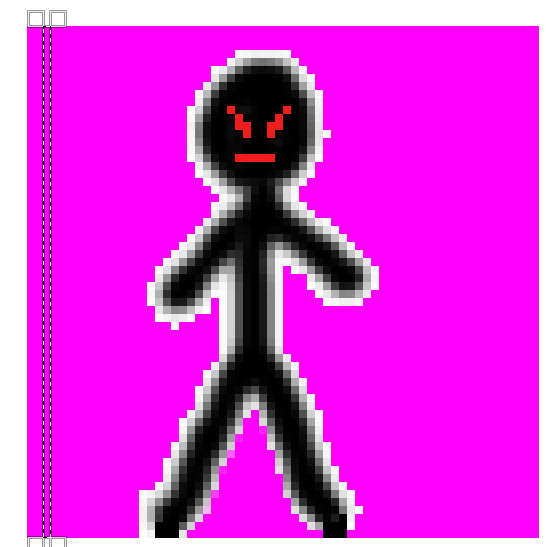
In Wolfenstein 3d, all wall textures are 64×64 images. They kept things simple and made all sprites 64×64 images as well. Unlike wall textures which were always solid, sprites have a bunch of fully transparent pixels. This was indicated using magenta.
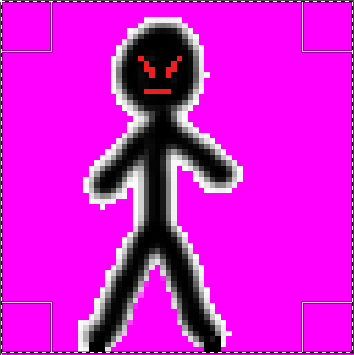
Behold my fantastic programmer art:
We can load this image in like we do with our wall textures. Now we just have to figure out how to render it.
Render Math
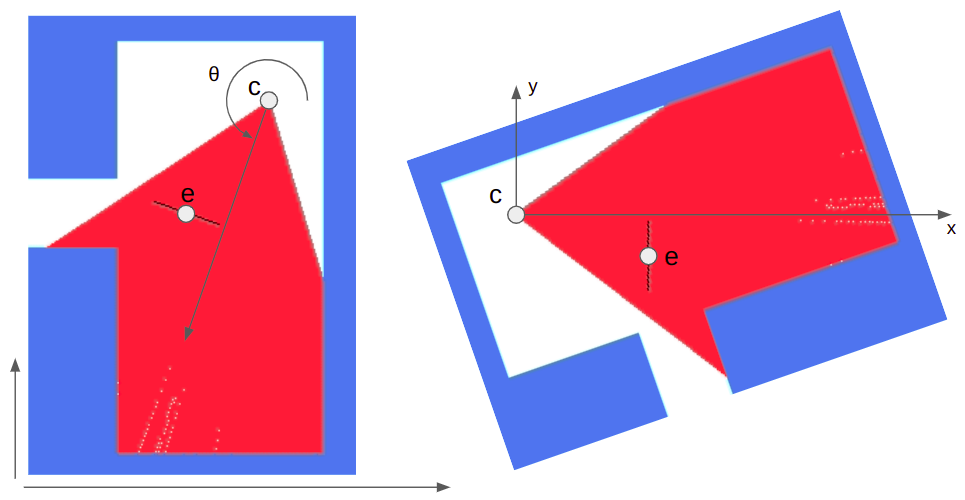
Each entity has a position in 3D space. First we transform the object’s location in game space to a camera-relative space:
We can do this with:
\[ \begin{bmatrix} e’_x \\ e’_y \end{bmatrix} = \begin{bmatrix} \hphantom{-}\cos \theta & \sin \theta \\ -\sin \theta & \cos \theta \end{bmatrix} \begin{bmatrix} e_x – c_x \\ e_y – c_y \end{bmatrix} \]
We can skip rendering the entity at this point if it is behind the camera (\(e’_x < 0\)).
Next we calculate its extents in the screen’s horizontal dimension:
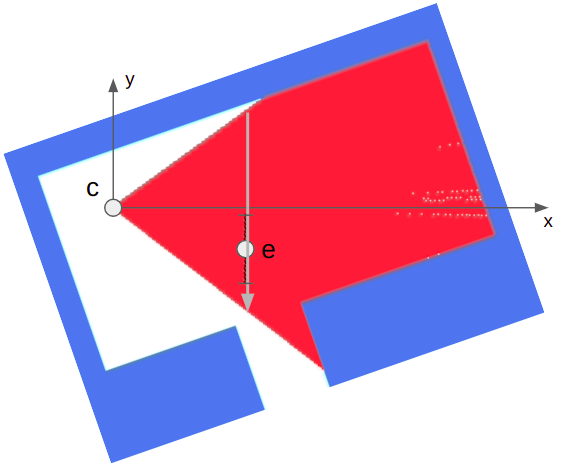
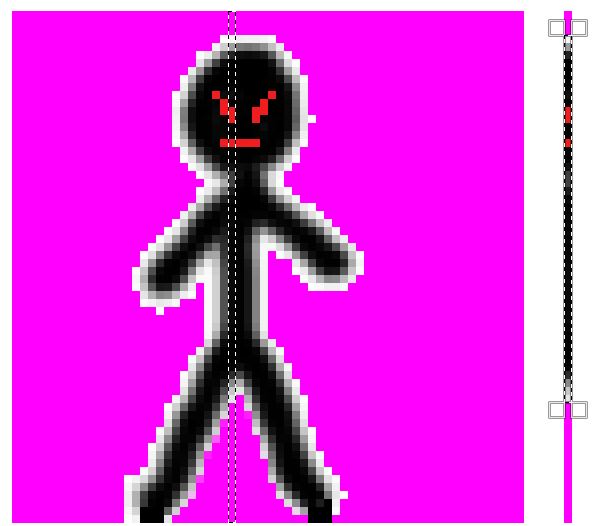
The billboard’s width is the same as the tile width. We can do some math to get the camera x-pixel locations:
\[\begin{aligned} x_\text{lo} = \left(\frac{1}{2} – \frac{e’_y + w_\text{sprite}/2}{e’_x \, \text{fov}_x}\right) \text{screenpix}_x \\ x_\text{hi} = \left(\frac{1}{2} – \frac{e’_y – w_\text{sprite}/2}{e’_x \, \text{fov}_x}\right) \text{screenpix}_x \end{aligned}\]
We’re just moving half the sprite width in either direction, then dividing by the screen’s width . We have to flip about 0.5 because pixels go left to right in screen space, and then scale up by the number of pixels.
The image’s height is determined by the distance the entity is from the camera. The calculation is the same one we used for determining the height of walls. This gives us \(y_\text{lo}\) and \(y_\text{hi}\).
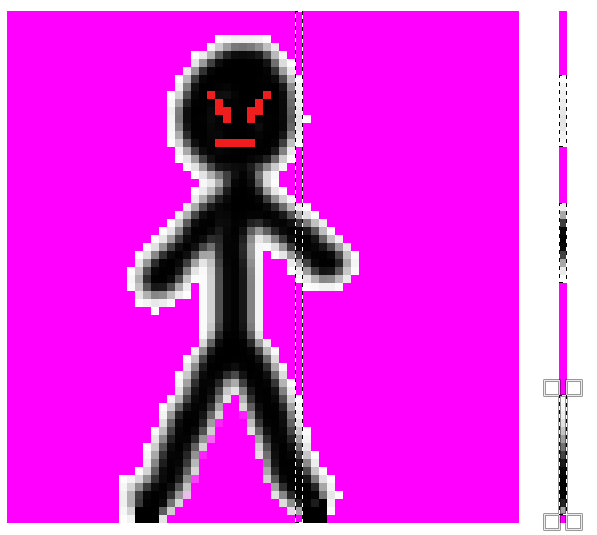
Now we can iterate from \(x_\text{lo}\) to \(x_\text{hi}\) in 1-pixel increments, rendering each column of pixels as we go between \(y_\text{lo}\) and \(y_\text{hi}\). For every \(x\)-increment of 1 pixel we move \(64 / (x_\text{hi} – x_\text{lo})\) pixels horizontally in the sprite image. Similarly, for every \(y\)-increment of 1 pixel we move \(64 / (y_\text{hi} – y_\text{lo})\) pixels vertically in the sprite image.

This gives us a billboard sprite in the correct location that scales as we move closer or farther away. Unfortunately, we’re rendering the magenta pixels and we’re drawing over walls that should be blocking our view.
We can trivially skip rendering magenta pixels with an if statement.
Fixing the wall occlusions also turns out to be pretty simple. We are rendering the entity after we render the walls. When we render the walls we have to calculate the raycast distance. We keep track of this distance for each pixel column, and only render a given entity pixel column when it is closer to the camera.
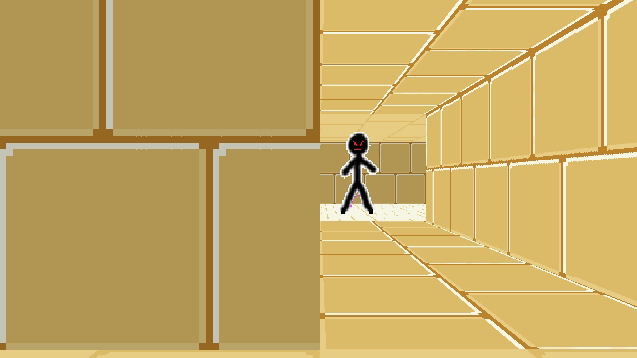
So there we have it – billboard sprites with occlusions. We first render the floors and ceilings, we then render the walls, and we then finally render all entity sprites.
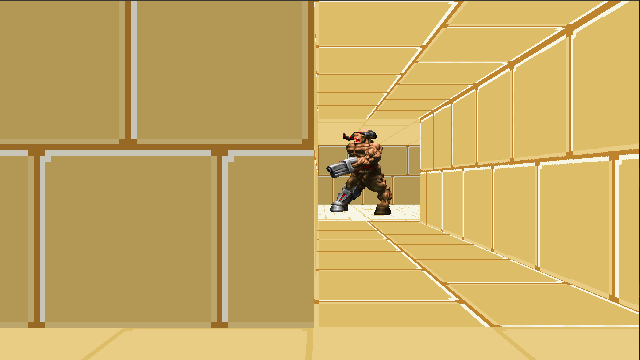
DOOM Sprites
Unfortunately, my programmer art is pretty terrible. It works okay for the walls, ceilings, and floors, but it doesn’t work so well for entities.
I considered using Wolfenstein 3D sprites, but I don’t want to go with the Nazi theme. I decided to go with DOOM sprites since the assets are easily available (and have been used by modders for decades).
We have to do some work to load from the DOOM assets (stored in a WAD file). I was surprised to find that the WAD format is quite similar to the asset format I made up that I was already using. They both consist of a header, followed by a series of blobs, terminated with a table of contents. We can just load the whole thing into memory and then point to the data we need.
Wolfenstein 3D stored everything in 64×64 images. DOOM was a bigger project, with things of different sizes, and so went for a more compressed format (at the expense of added complexity). Sprites are stored as patches, which slice the image up by pixel column, and only specify continuous pixel column regions that should be drawn (ignoring transparent pixels).
We don’t have to waste any space on transparent columns:
Many columns simply consist of a single continuous range of pixels:
Some columns have several pixel intervals:
Each patch has a header defining its width and height, and its position relative to the entity’s origin. (If a monster has an arm stretched out to the left, we want to know to offset the image to the left a bit). This is followed by byte offsets to pixel data. One of the cool things here is that if two pixel columns happen to be the same, we don’t have to store them twice, but can just point to the same data.
Pixel columns are each a sequence of pixel intervals with a given offset from vertical, some number of pixels, and then the pixel values. We know we’ve reached the end when the vertical offset is 0xFF.
DOOM is restricted to a 256-color palette. The pixel data in each patch stores 1-byte indices into this palette. When rendering, we take the index and look up the appropriate color. (DOOM also has a colormap that it uses to darken things further from the camera, but I’m not doing that quite yet).
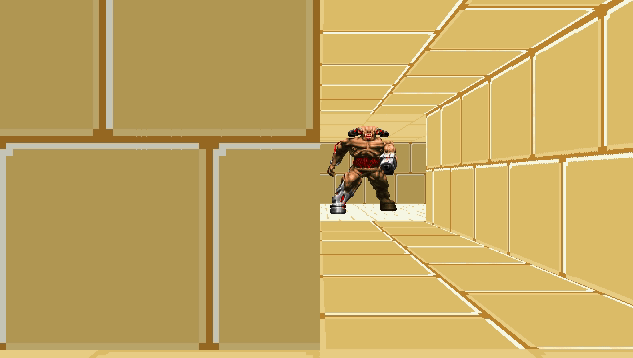
While DOOM does use billboard sprites, they also rendered each frame from 8 different viewing angles. We can determine which sprite to use for a given frame based on our viewing angle:
f32 monster_heading_rel =
                 fmod(monster_heading+camera_heading+PI+PI/8.0,2*PI);
int monster_frame = (int)(monster_heading_rel * 8.0/(2.0*PI)) & 0x07;
This gives us some nice visual continuity as we walk around the monster:
Conclusion
The code for this post is available here. The zip file contains my assets, but you’ll have to separately find the DOOM assets, since I didn’t think it’s okay to host them myself. Thank you DOOM team for making those available!
I ended up splitting my source code into multiple files, since the code was steadily growing and becoming less manageable. You’ll notice that I use fewer static functions and I pass in the objects that I use instead.
The code now generates a second window, in which I render a top-down debug view. I allow myself to use SDL_RenderDrawLine and SDL_RenderFillRect here. (They’d be pretty easy to implement myself, but whatever).
I’m not sure how far I’ll take this project. It certainly has been fun so far! Fully fleshed games are pretty involved, and as we’ve seen I am pretty limited when it comes to asset creation. I do have a neat idea that I want to try out with respect to more general 3D rendering and collision detection, and I kind of want to have some rudimentary monster fighting interactions. We’ll see.